


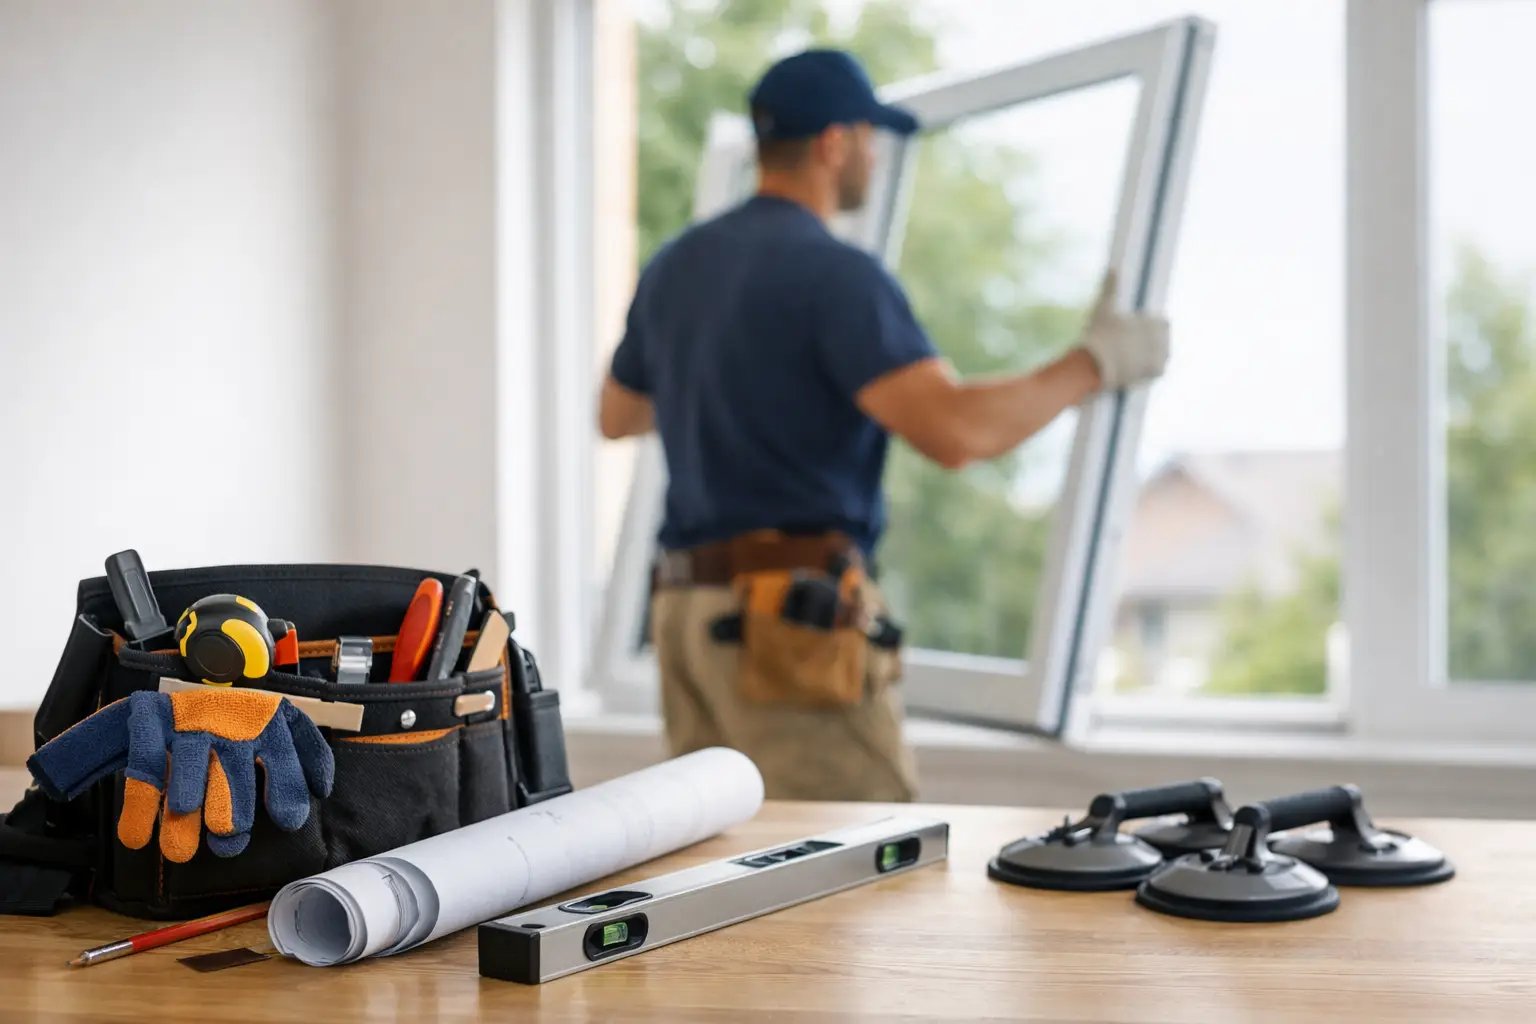
Window installation often involves replacing or fitting new glass and frames. Understanding the process helps you prepare your home effectively, and it can reduce the risk of delays caused by incorrect measurements or last-minute repairs. Having a clear plan also makes it easier to communicate with window professionals and make decisions about window styles and glass options. Here are a few tips to help you prepare for window installation:
Identify Your Window Needs
The process typically begins with a consultation, during which a window professional reviews the home’s current condition and discusses your long-term goals. Since every property has unique architectural features, a standard approach may not suit every project. Start by inspecting your existing windows for drafts, operational problems, or signs of wear. Sharing these observations with a professional helps define the project’s scope.
You can also ask the window technicians about energy-efficient materials and designs. These options help maintain a more comfortable indoor temperature as weather conditions change. They may also lower daily energy use. The window installation process allows you to replace a single unit or multiple windows throughout the home; sharing your needs with the team early gives them a clearer vision of your goals.
Review Different Window Types
Understanding the different window styles helps you select designs that complement your home’s appearance while meeting your functional needs. Identifying factors include the window’s operating mechanism, frame shape, and ventilation options. Casement and double-hung windows are two possible choices for bedrooms and living areas. Double-hung windows have two vertically sliding sashes; this allows you to open the top or bottom section for ventilation. Casement windows are attached to the frame with side hinges and open outward using a manual crank.
If you want to add architectural interest or create a focal point, bay or bow windows may be an option. These windows extend outward from the exterior wall; they help add depth to spaces such as living rooms and dining areas. For areas that require horizontal operation, sliding windows move along a built-in track and provide convenient ventilation and access.
Certain window styles may be better suited to specific areas of the home. Awning windows are hinged at the top and open outward, while hopper windows are hinged at the bottom and open inward, making both possible choices for basements. Specialty and custom-shaped windows add distinctive geometric details to a home. Tilt-and-turn windows offer two opening options; they can swing inward like a door or tilt inward from the top for ventilation.
Understand the Window Installation Process
A window installation project typically starts when you contact the installation team to ask about materials and schedule a consultation. This allows the team to gather key details about your project, and some regional providers may respond within 24 hours. Technicians then visit your home to take measurements and inspect the surrounding framing. This assessment helps make sure the new units are properly sized and supported. Once the windows have been manufactured, the installation crew returns to remove the existing units and install and secure the new frames. You may also choose to coordinate window installation with other exterior projects, such as siding, soffit, fascia, gutter, or roofing work. Understanding each stage of the process can help you know what timeline to expect when preparing for the installation.
Find a Professional Window Company
Preparing for a window installation project often involves evaluating specific structural requirements, comparing frame styles, and understanding the workflow. Window providers work with you to find the right window size and style, and they install them with airtight seals and clean finishes. Contact a professional window installation company today to learn more about their services.